How to Draw Flames
Your Smart Art Institute Online - Drawing and Painting Art Lessons
Just follow the basic steps and you will be on your way to drawing awesome flames!
|
 |
|
Now let's get started with the flames
step by step drawing tutorial. |
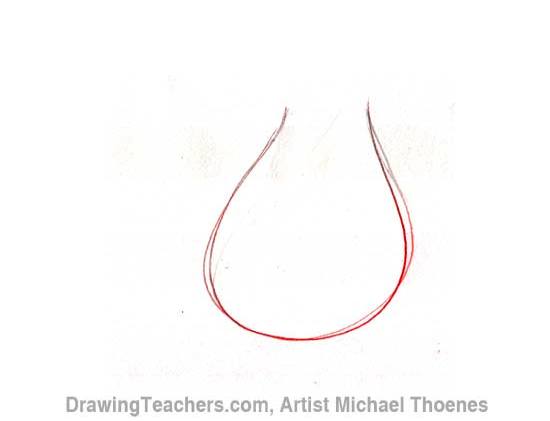
Flames Drawing Tutorial Part 1:
Begin by lightly sketching a teardrop shapes "U" to give the general shape of your overall fire.
|
 |
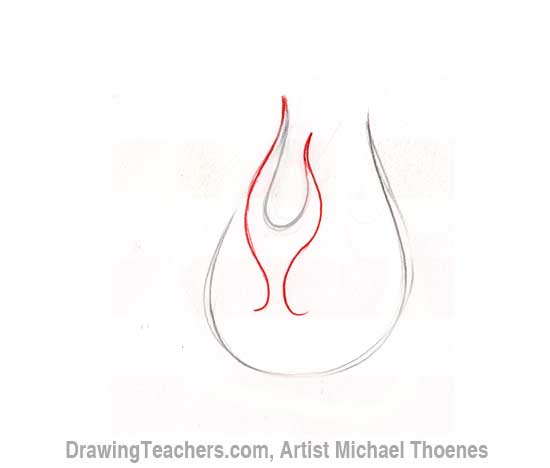
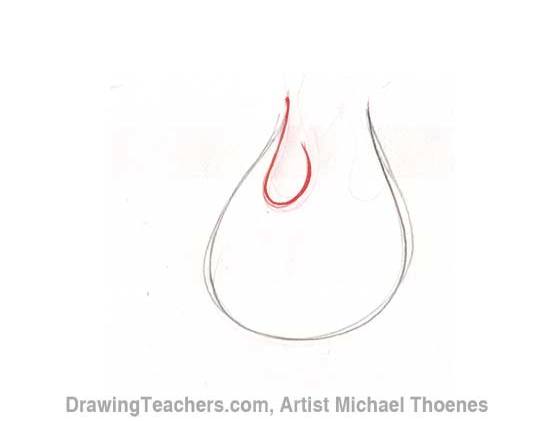
Flames Drawing Tutorial Part 2:
Draw the first flame by making a fish hook shape. |
 |
Flames Drawing Tutorial Part 3:
Sketch the flame's edge curves to the right and left of your fish hook shape. The curves should connect to the top of the fish hook shape.
|
| |
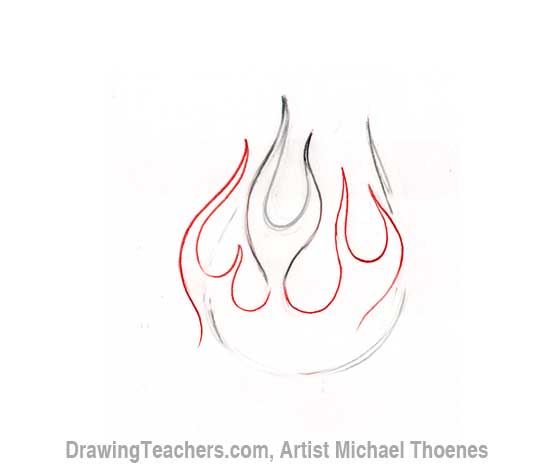
Flames Drawing Tutorial Part 4:
Attach more of the same type of flames to the right and left. Make these flames smaller.
|
| |
Flames Drawing Tutorial Part 5:
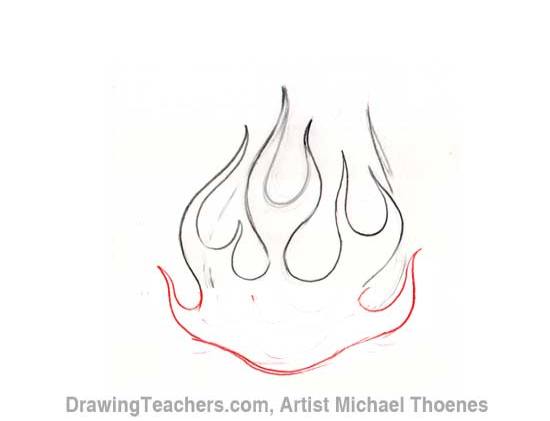
Shape the bottom of your fire as shown. |
|
Flames Drawing Tutorial Part 6:
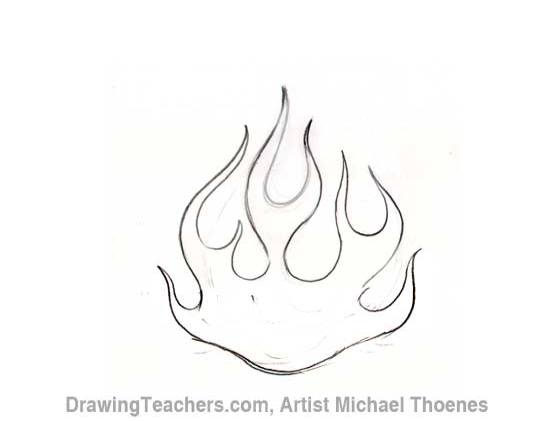
Erase your sketch lines and refine your fire. |
|
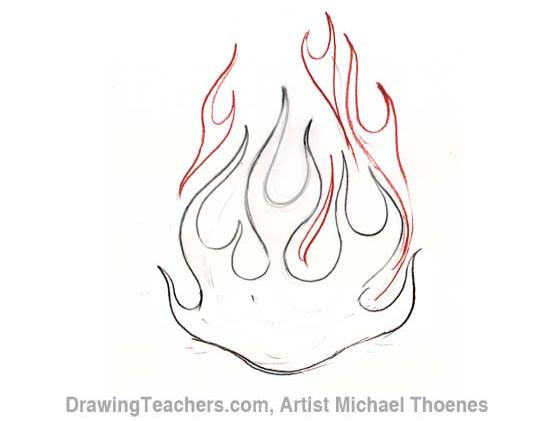
Flames Drawing Tutorial Part 7:
Add some leaping flames using the same basic technique of sketching a "U" or fish hook shape and connecting curves to the sides. |
 |
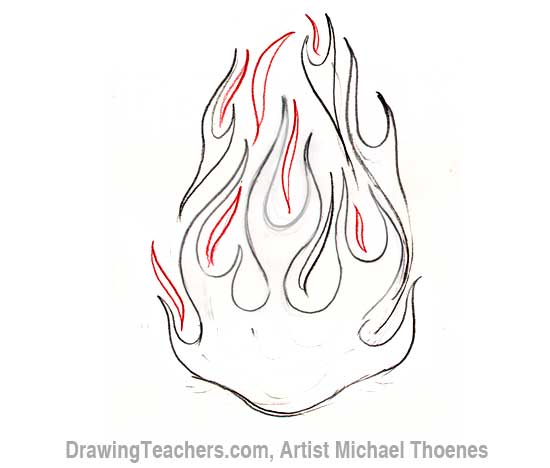
Flames Drawing Tutorial Part 7:
Add some smaller leaping flames. |
 |
Flames Drawing Tutorial Part 7:
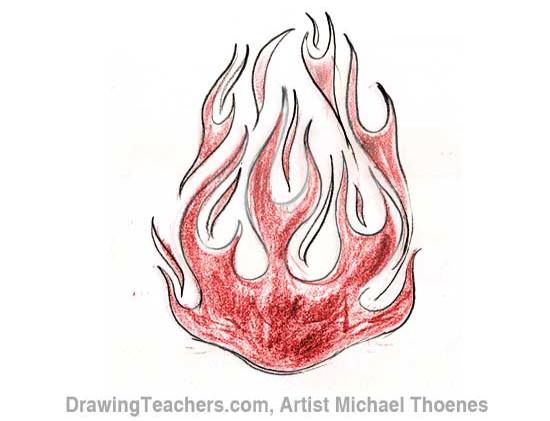
Coloring your flames: Depending on the type of art materials you are using, you may be able to start with the red and work towards thelighter orange and yellow, or you may need to start with the yellow and then orange and then red.
Lightly color your flames red with colored pencil, crayon or marker.
|
 |
Flames Drawing Tutorial Part 8:
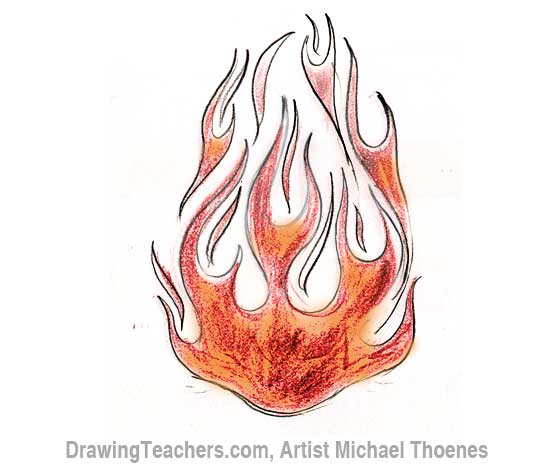
Blend in orange to your flames with colored pencil, crayon or marker. |
 |
Flames Drawing Tutorial Part 9:
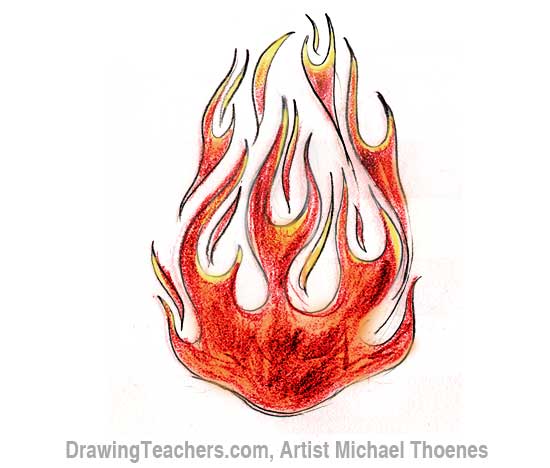
Add yellow to the tips of your flames. |
 |
Flames Drawing Tutorial Part 10:
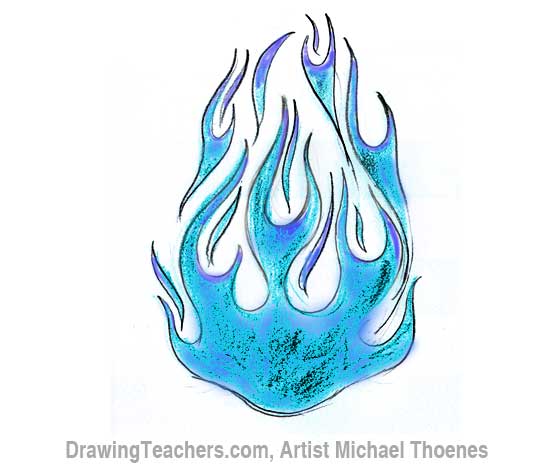
Or color your flames blue and purple with colored pencil, crayon or marker. |
 |
Flames Drawing Tutorial Part 11:
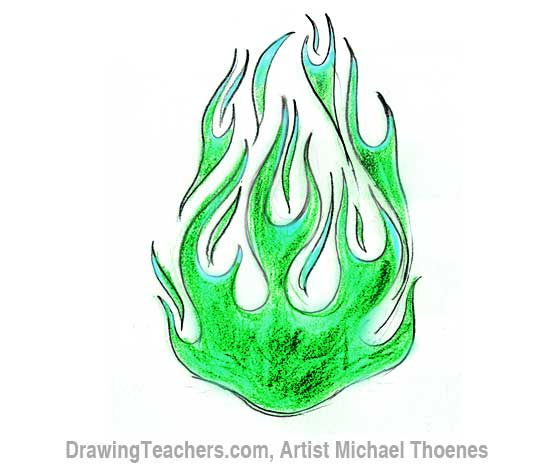
Or color your flames green and blue with colored pencil, crayon or marker. |
|
Congratulations you have finished this online art lesson,
"How to Draw Flames!"
Great Job!
Return from How to Draw Flames to Home
