Angels are an integral part of our culture as components of Divinely inspired documents passed down to us by our predecessors over the millennia. Even today, many will profess to the healing presence of angels in their lives.
This cherubic angel drawing would fit right in with a heavenly choir!
This Basic Angel Design is a good start for beginners because you will be incorporating symmetry within your framework and basic shapes to establish believable forms. |
|
|
Recommended Materials:
You will need a pencil, preferably one with a soft lead like an HB, a B, or a 2B. A regular #2 pencil will do just as well. Whichever you use, be sure to make loose, light strokes on your paper so you can erase the lines after inking the final rendition. Any ballpoint pen will suffice; for a smoother look I use special art pens that can be found at art supply shops and hobby/craft stores.
If using digital media such as Photoshop, be sure to create multiple layers to draw on and draw with thinner opacity settings until it is time to ink. After outlining, just hide the layers you worked on instead of erasing
Now let's get started with the "Angel Drawing"
Drawing by Drawing drawing tutorial.
|
How to Draw Angel Wings, Body and Face Tutorial - Drawing 1:
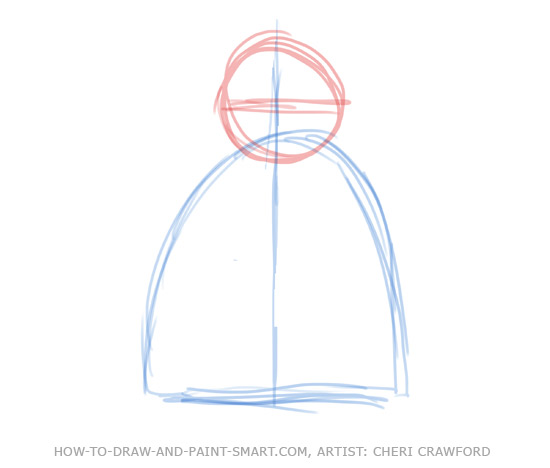
Draw a single, vertical Gesture Line.
|
 |
How to Draw Angel Wings, Body and Face Tutorial - Drawing 2:
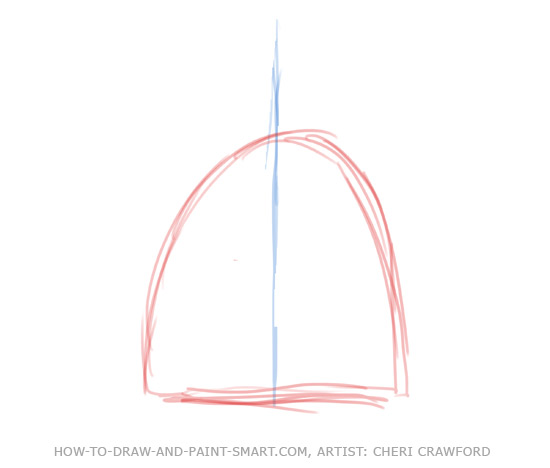
Draw the Base Line and Arc to create a Bell Shape (use gesture line as center)
|
 |
How to Draw Angel Wings, Body and Face Tutorial - Drawing 3:
Draw a Circle for Head Shape, centered on gesture Line. Draw a line horizontally through the center of the circle. This will be used to align the facial components later.
|
| |
How to Draw Angel Wings, Body and Face Tutorial - l Drawing 4:
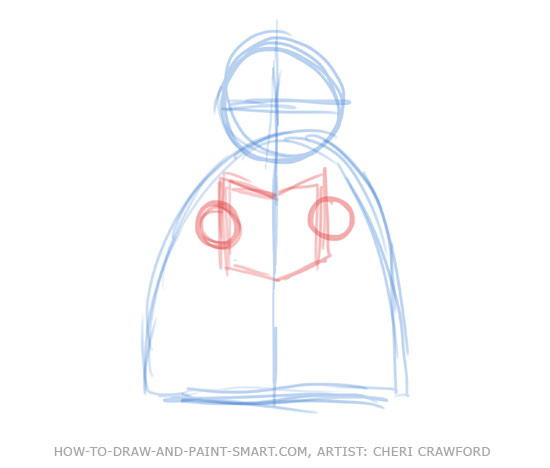
Using the gesture line as the spine for the songbook, draw two parallelograms that mirror each other. Then, draw two small circles for hand shapes.
|
| |
How to Draw Angel Wings, Body and Face Tutorial - Drawing 5:
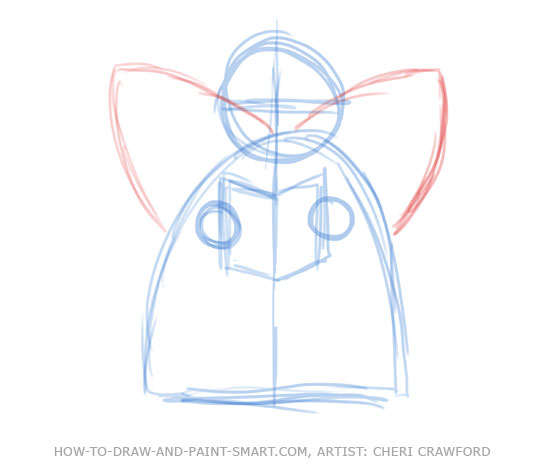
Draw Two Wing Shapes, using the gesture line as a base to start from.
|
|
How to Draw Angel Wings, Body and Face Tutorial - Drawing 6:
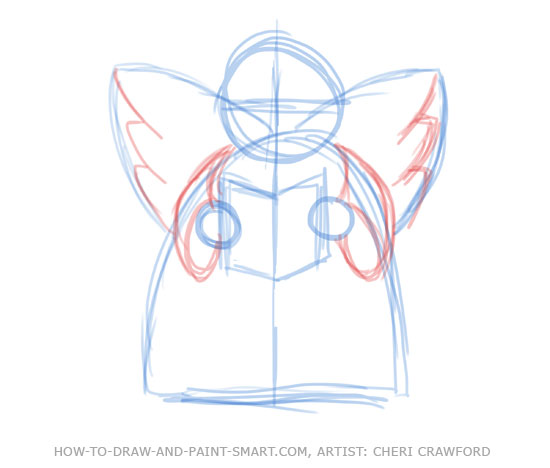
Next draw in the arm sleeves and Wing feathers. Here you can see the overlapping lines create a sense of form and depth, which will help make the angel look more believable. |
|
How to Draw Angel Wings, Body and Face Tutorial - Drawing 7:
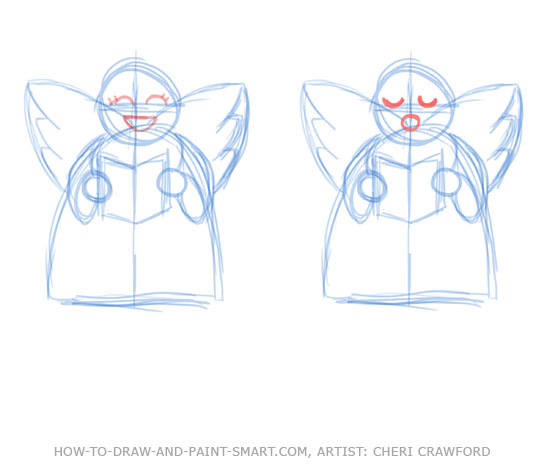
It's time to draw in the face! Using the gesture line and the head shape's horizontal line for proper alignment of the features, draw semicircle lines for the eyes, and for the mouth a crescent shape. You can add eyelashes like I have if you choose. You can also make a more solemn face, just flip the semicircle eye lines upside down and use a circle for the mouth instead of a crescent.
|
|
How to Draw Angel Wings, Body and Face Tutorial - Drawing 8:
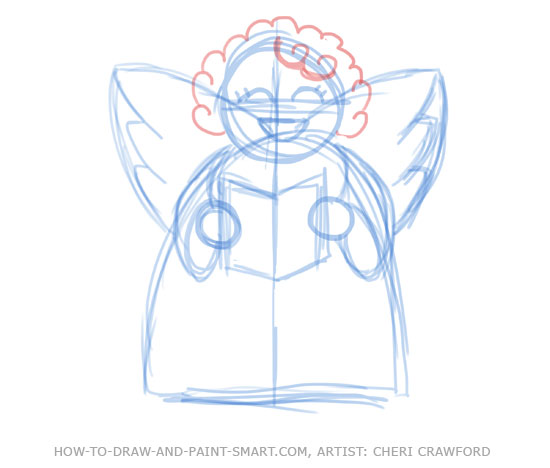
Draw the hair shape by using curly line strokes. Notice how the two front curls are overlapping the head shape line? Once again we are creating a sense of
three-dimensional form. |
|
How to Draw Angel Wings, Body and Face Tutorial - Drawing 9:
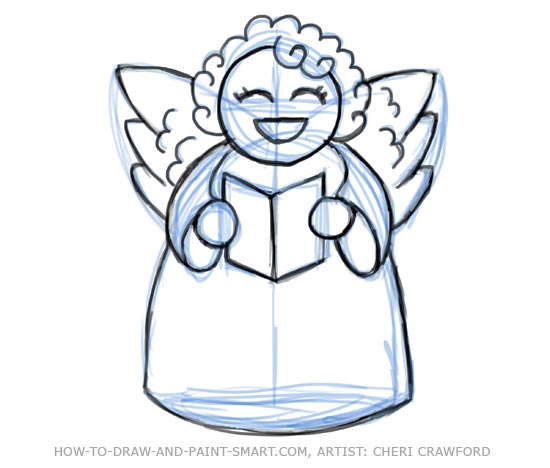
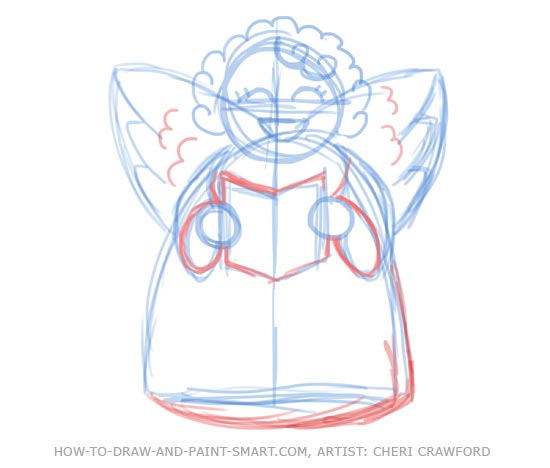
Everything is in place, so it's time to put in little details such as additional wing feathers and going over any incomplete lines. Your line clean up work might not look exactly like mine, which is perfectly okay. |
 |
How to Draw Angel Wings, Body and Face Tutorial - Drawing 10:
Now comes the fun part! When you've finalized your lines, you can go in and outline what you want your finished piece to look like.
|
|
How to Draw Angel Wings, Body and Face Tutorial - Drawing 11:
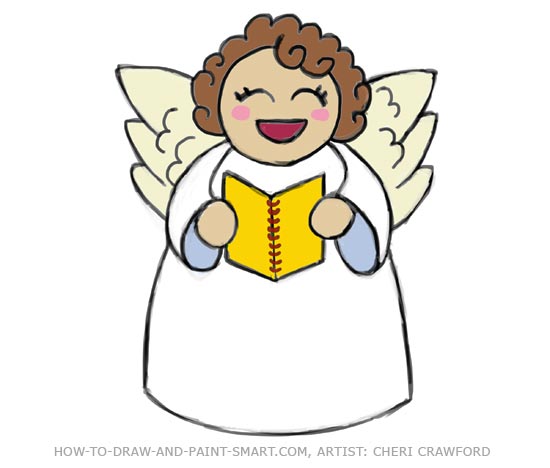
After you are satisfied with the finalized outline, it is time to erase your pencil work (add color if you choose) and admire your finished Angel! |
 |
How to Draw Angel Wings, Body and Face Tutorial - Drawing 12:
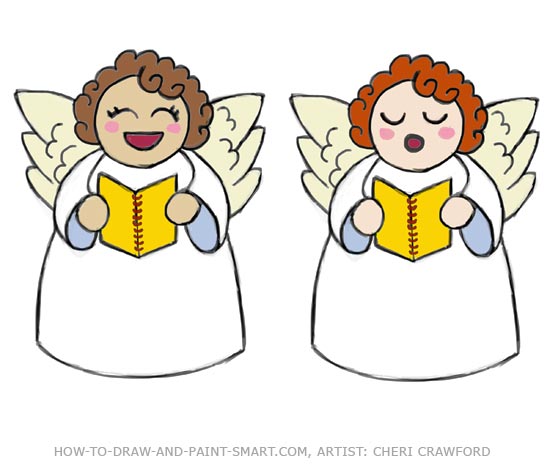
Paint your Angel's face wings and hair with markers, colored, pencil or crayons. You can use watercolor and other kinds of paint too. |
 |
Here are our two angels side-by-side. |
|


